NCTest for iPad
- An iPad with iOS v.9.3.2+ (Previous version are not compatible)
- The NCTest iPad app
- Use 1024x768 screen resolution for best results.
To find the current iOS version you have installed, navigate to Settings>General>About.
Once here, you will be able to view device specifications and view the current "Version" of iOS you have installed. (Figure 1).
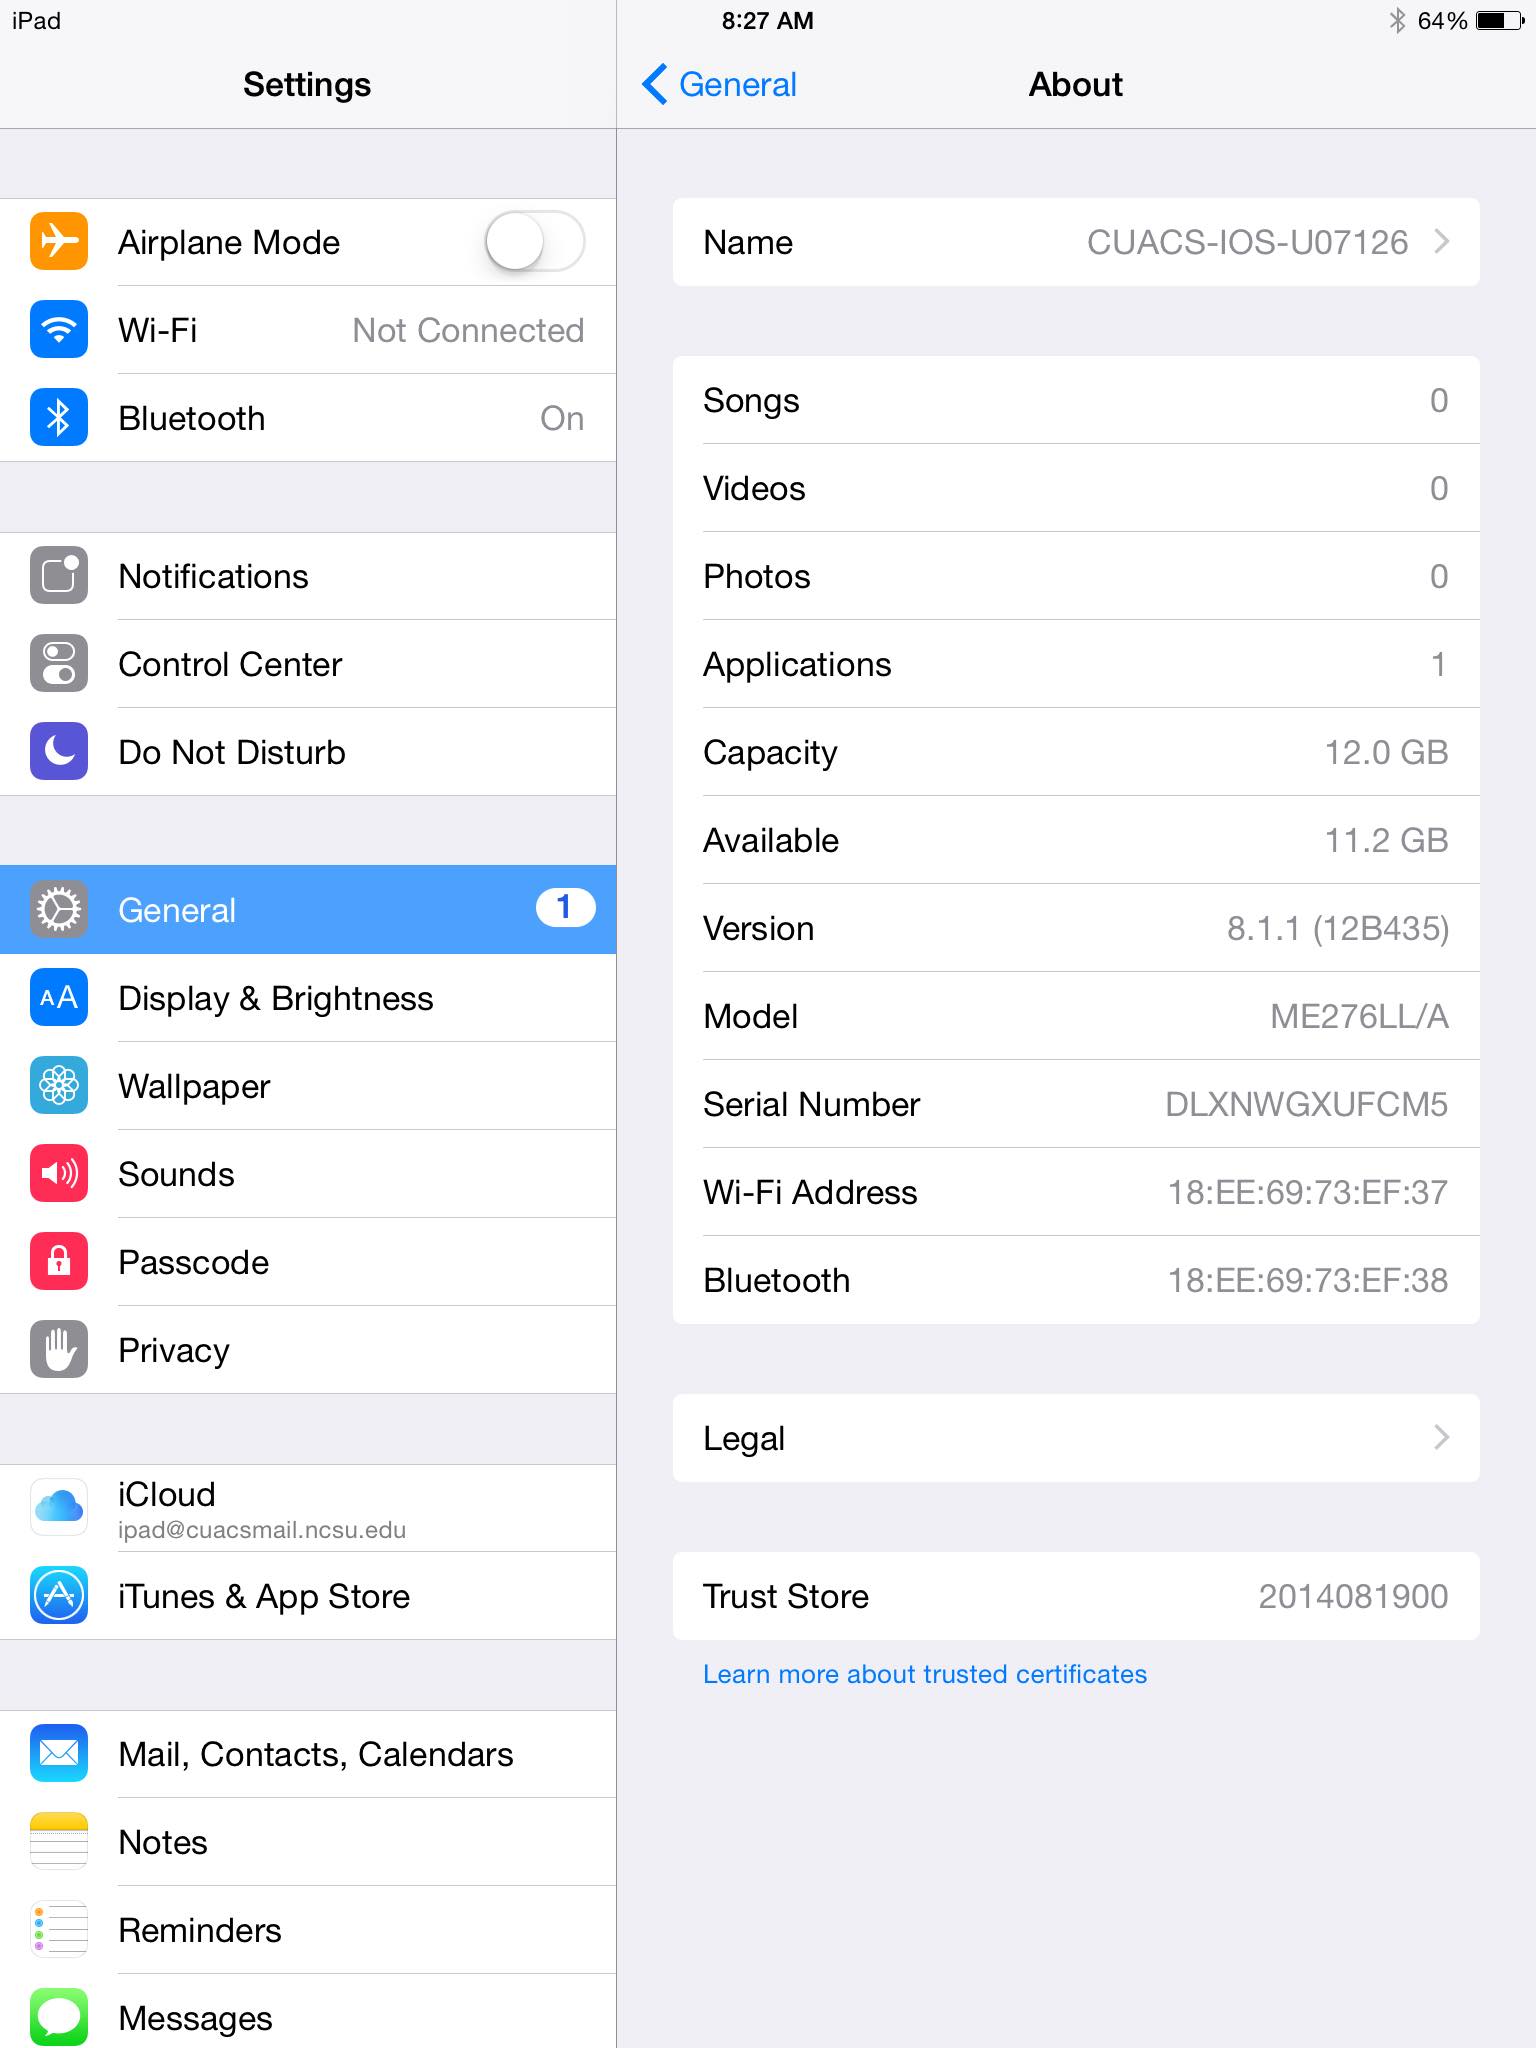
Figure 1 - Device specifications found in Settings>General>About.
- On your iPad, go to the App Store and search for NCTest
- Install NCTest as you would any other app for the iPad.
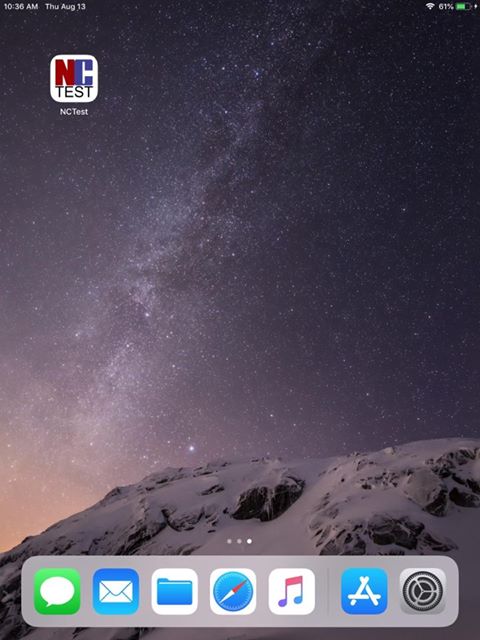
- Tap the icon for NCTest on your iPad.
- Enter the student ID and access code given to you by your school for the assessment you wish to take.
- The app will ask you to verify the person and assessment to take. If correct, proceed to the assessment.
- Take the assessments following the onscreen prompts.

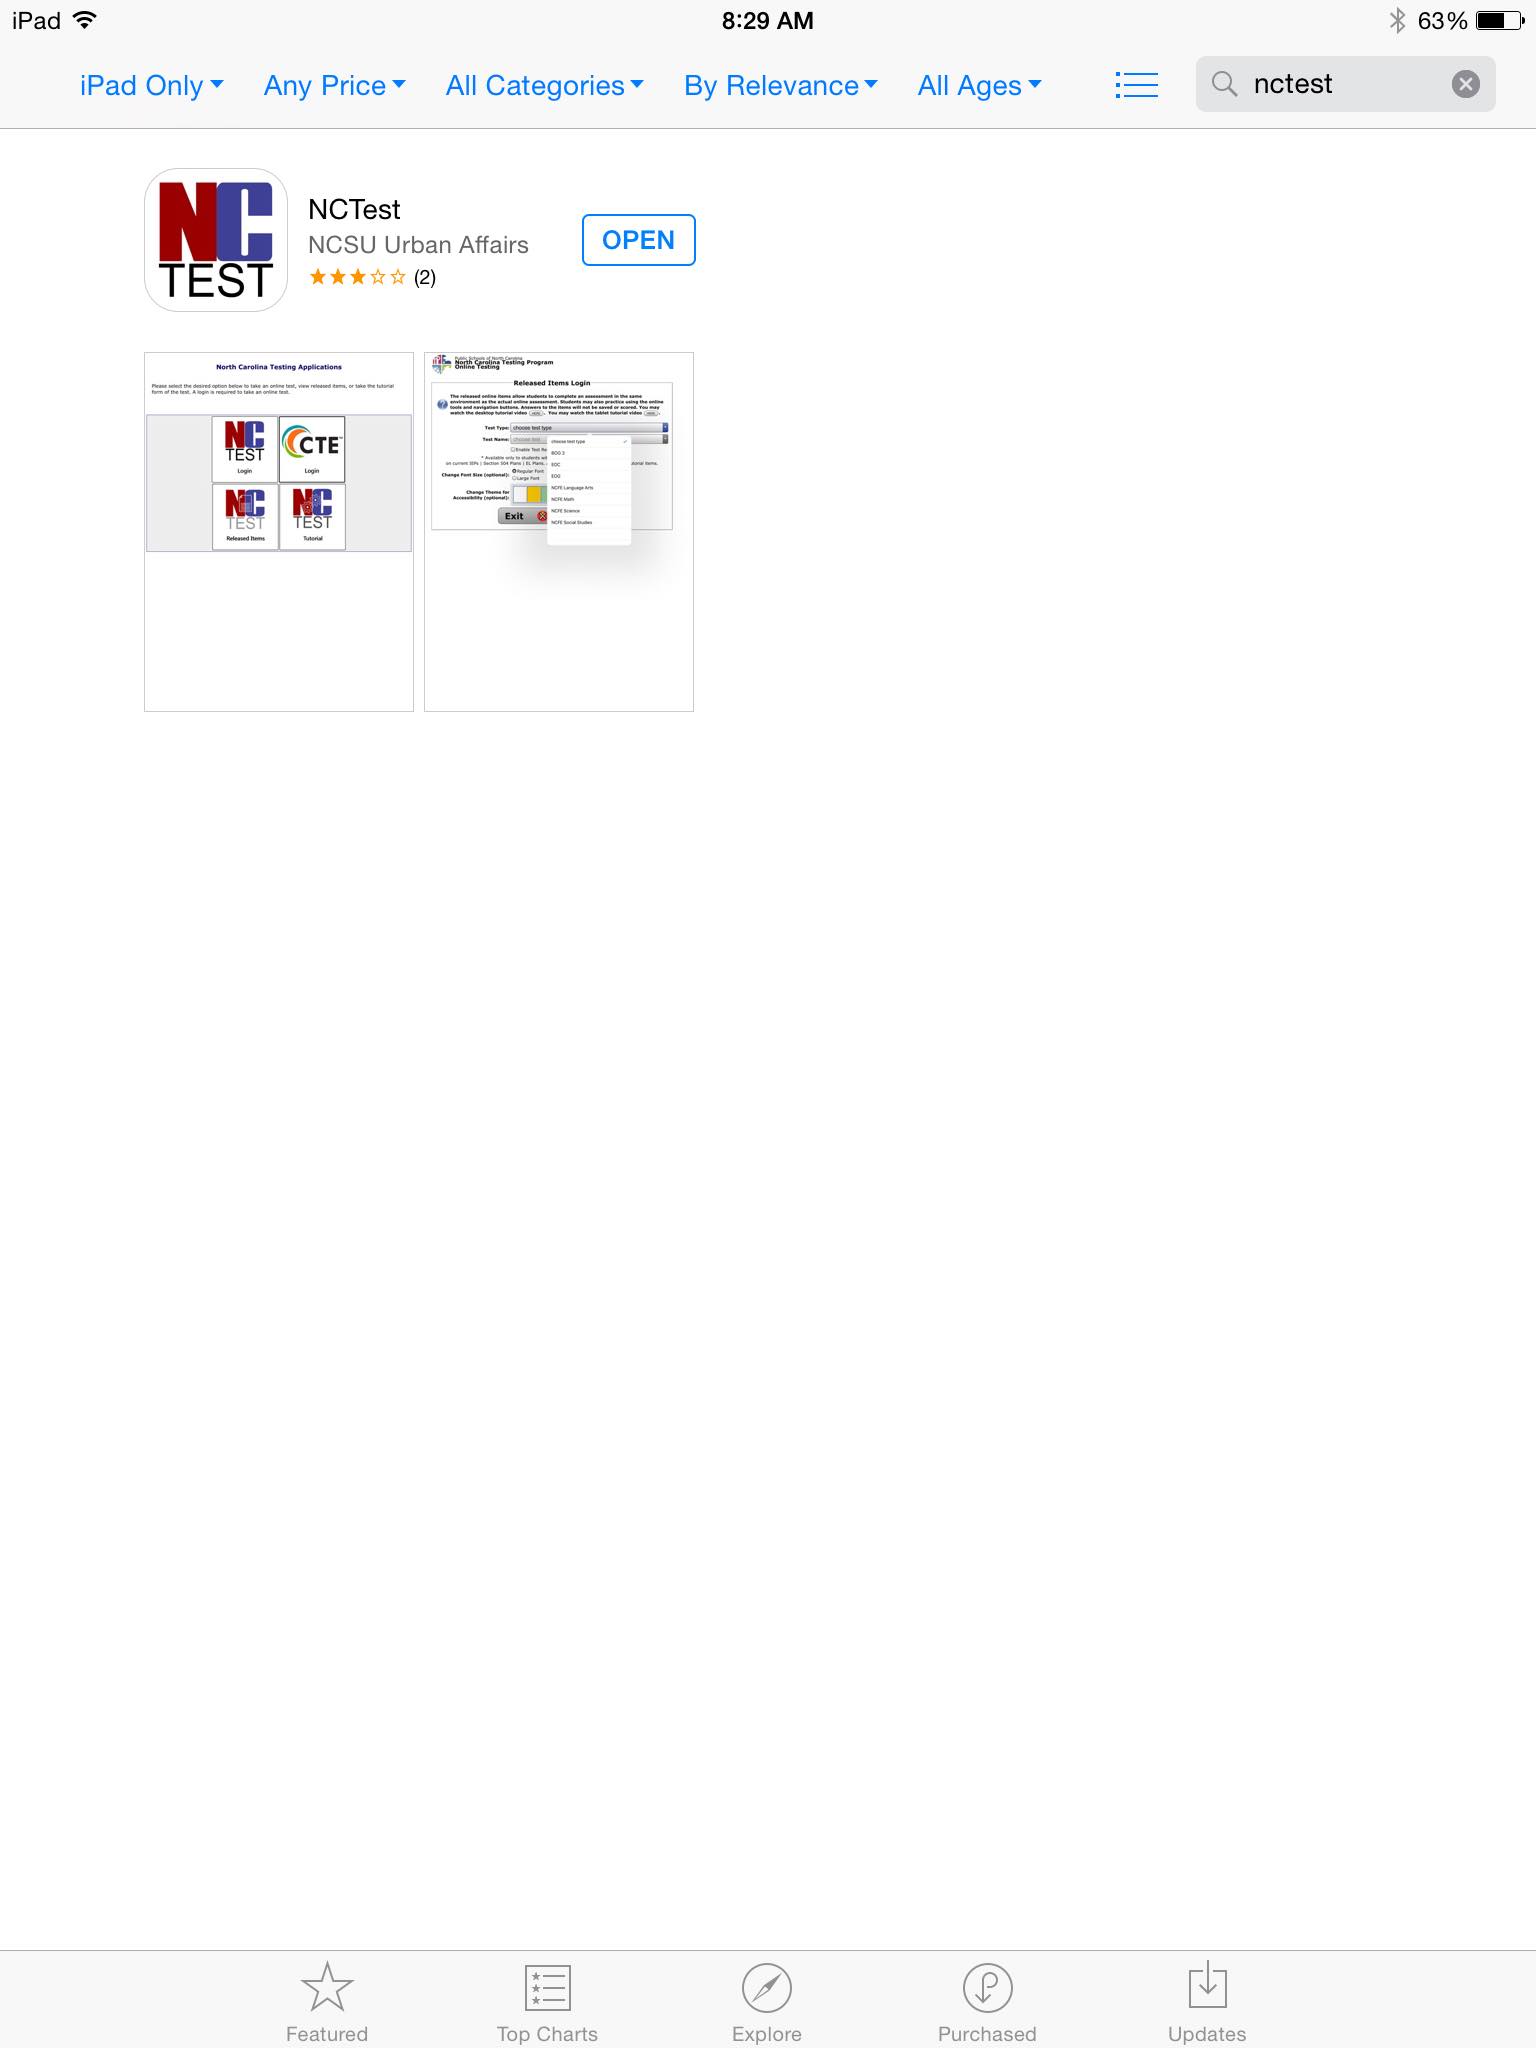
*Note - Your device will say "Get" instead of "Open" since your device will not have NCTest already installed.
NCTest for Windows
- A laptop or PC with Windows 8, 10, or 11 installed.It should have:
- 1GB of RAM
- 350MB of available file space
- 9.5" or larger screen
- 1024 horizontal screen resolution
- The NCTest Secure Exam Browser and configuration file. Check the folder labeled 2025-26 NCTest Secure Browser Files below to download these.
- Use 1024 x 768 screen resolution for best results.
To find the current version of windows you have installed, go to your computer's settings (gear icon located above the Windows icon after clicking it) and navigate to System>About.
Or you can simply search for "about" or "about your pc" within the Windows Search Bar (Figure 1).
Once here, you will be able to view your "Windows Specifications" to find your current Windows version (Figure 2).
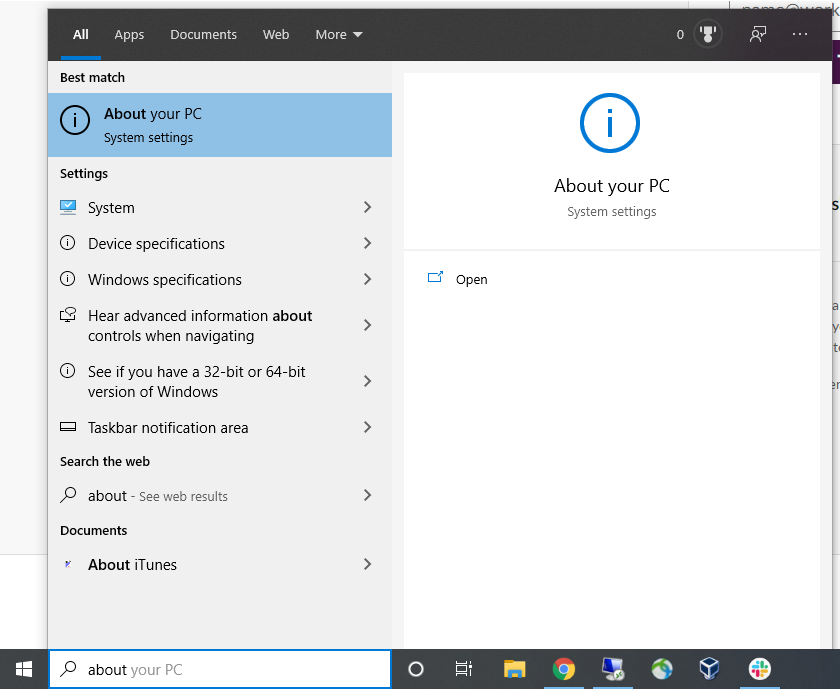
Figure 1 - Search for "about" or "about your pc"
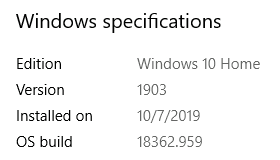
Figure 2 - Windows Specifications located within About
RAM, or Random Access Memory, or sometimes referred to simply just as Memory, is used to store and retrieve data quickly. The amount of RAM or Memory can found by going to your computer's settings (gear icon located above the Windows icon after clicking it) and navigate to System>About.
Or you can simply search for "about" or "about your pc" within the Windows Search Bar (Figure 1).
Once here, you will be able to view your "Device Specifications" to find your current Windows version (Figure 2).
Figure 1 - Search for "about" or "about your pc"
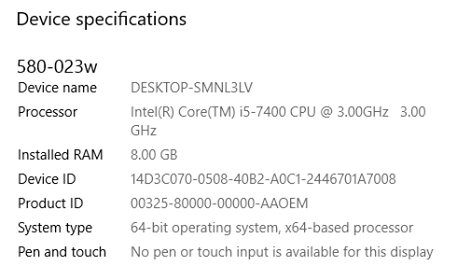
Figure 2 - Device Specifications located within About
The amount of available file space you have on your computer can be found by navigating to "This PC" from any Windows Explorer (Windows folder browser).
Or you can simply search for "pc" or "this pc" within the Windows Search Bar (Figure 1).
Once here, you will be able to view the amount of available space you have.
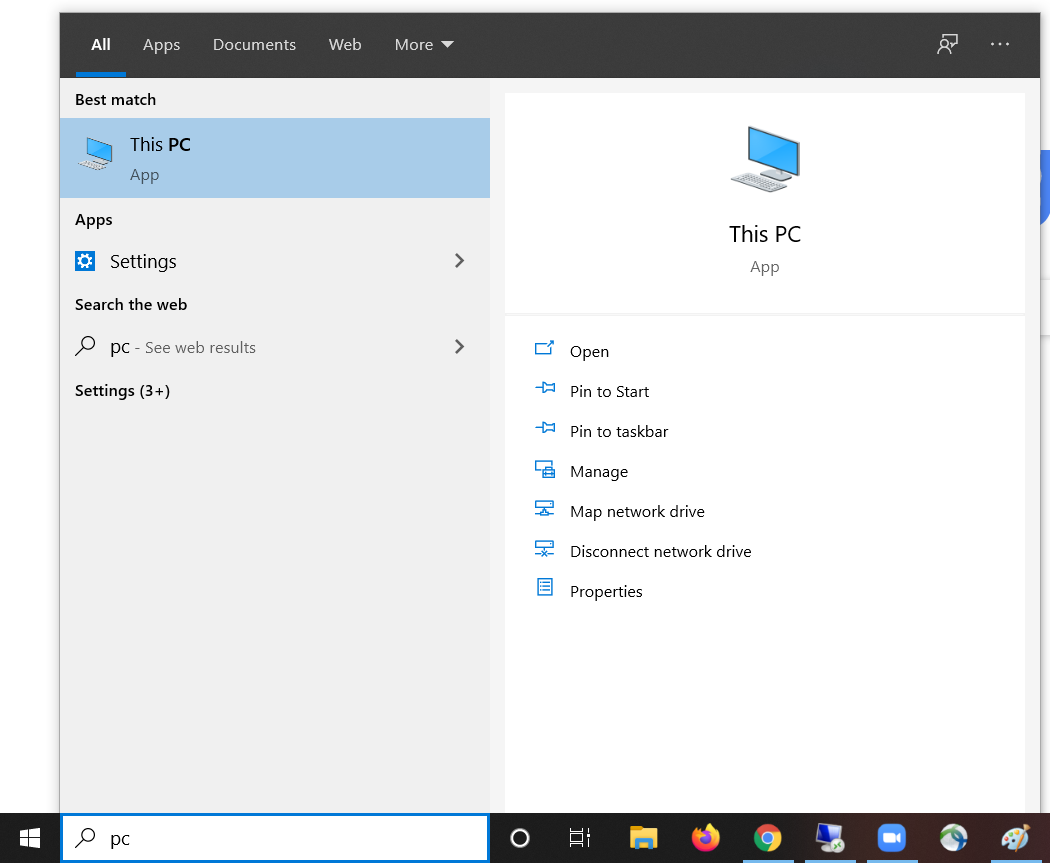
Figure 1 - Search for "pc" or "this pc"
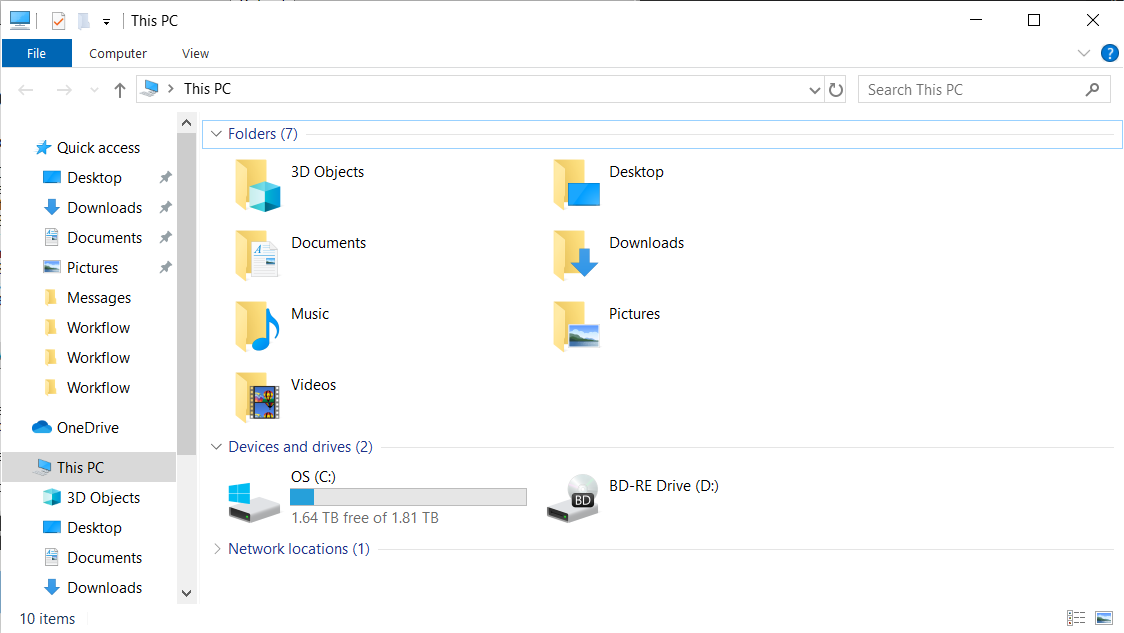
Figure 2 - Windows displaying the amount of available file space.
*Note - Within Figure 2 the C: drive is named "OS" but it may differ from your system.
To find settings regarding your display and resolution, go to your computer's settings (gear icon located above the Windows icon after clicking it) and navigate to System>Display.
Or you can simply search for "display" or "display settings" within the Windows Search Bar (Figure 1).
Once here, you will be able to view your "Display resolution" (Figure 2).
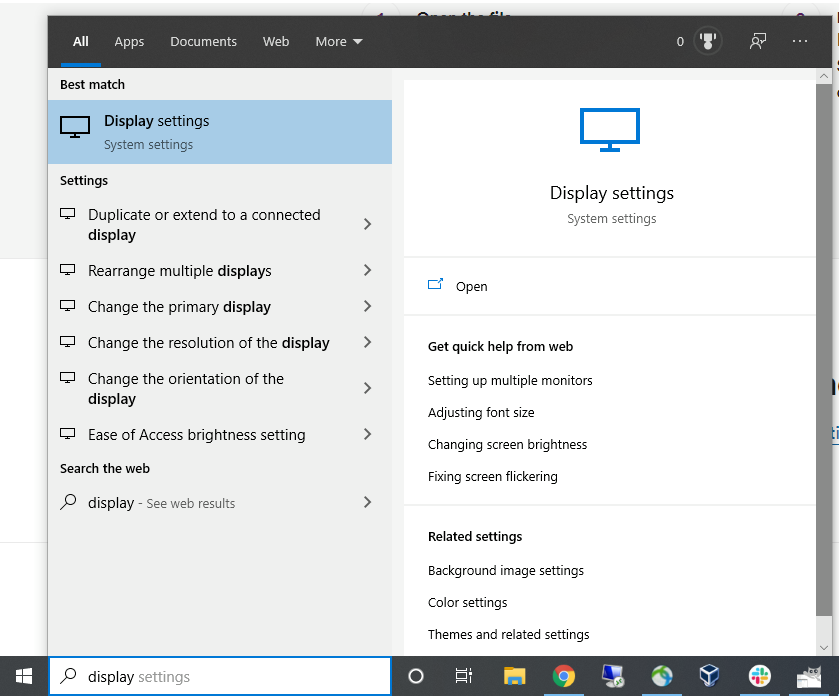
Figure 1 - Search for "display" or "display settings"
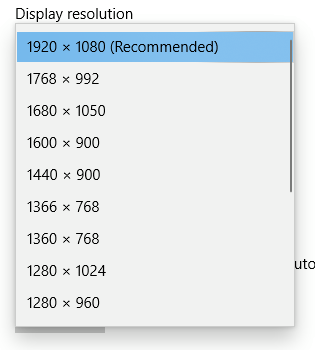
Figure 2 - Menu displaying "Display resolution" options
- Download the files NCTest_SecureBrowser25.exe and NCTest.seb files by clicking each of the buttons below: Download NCTest_SecureBrowser25.exe Download NCTest.seb
- Install NCTest by double clicking the NCTest_SecureBrowser25.exe file.
- To run NCTest, double click the NCTest.seb file.
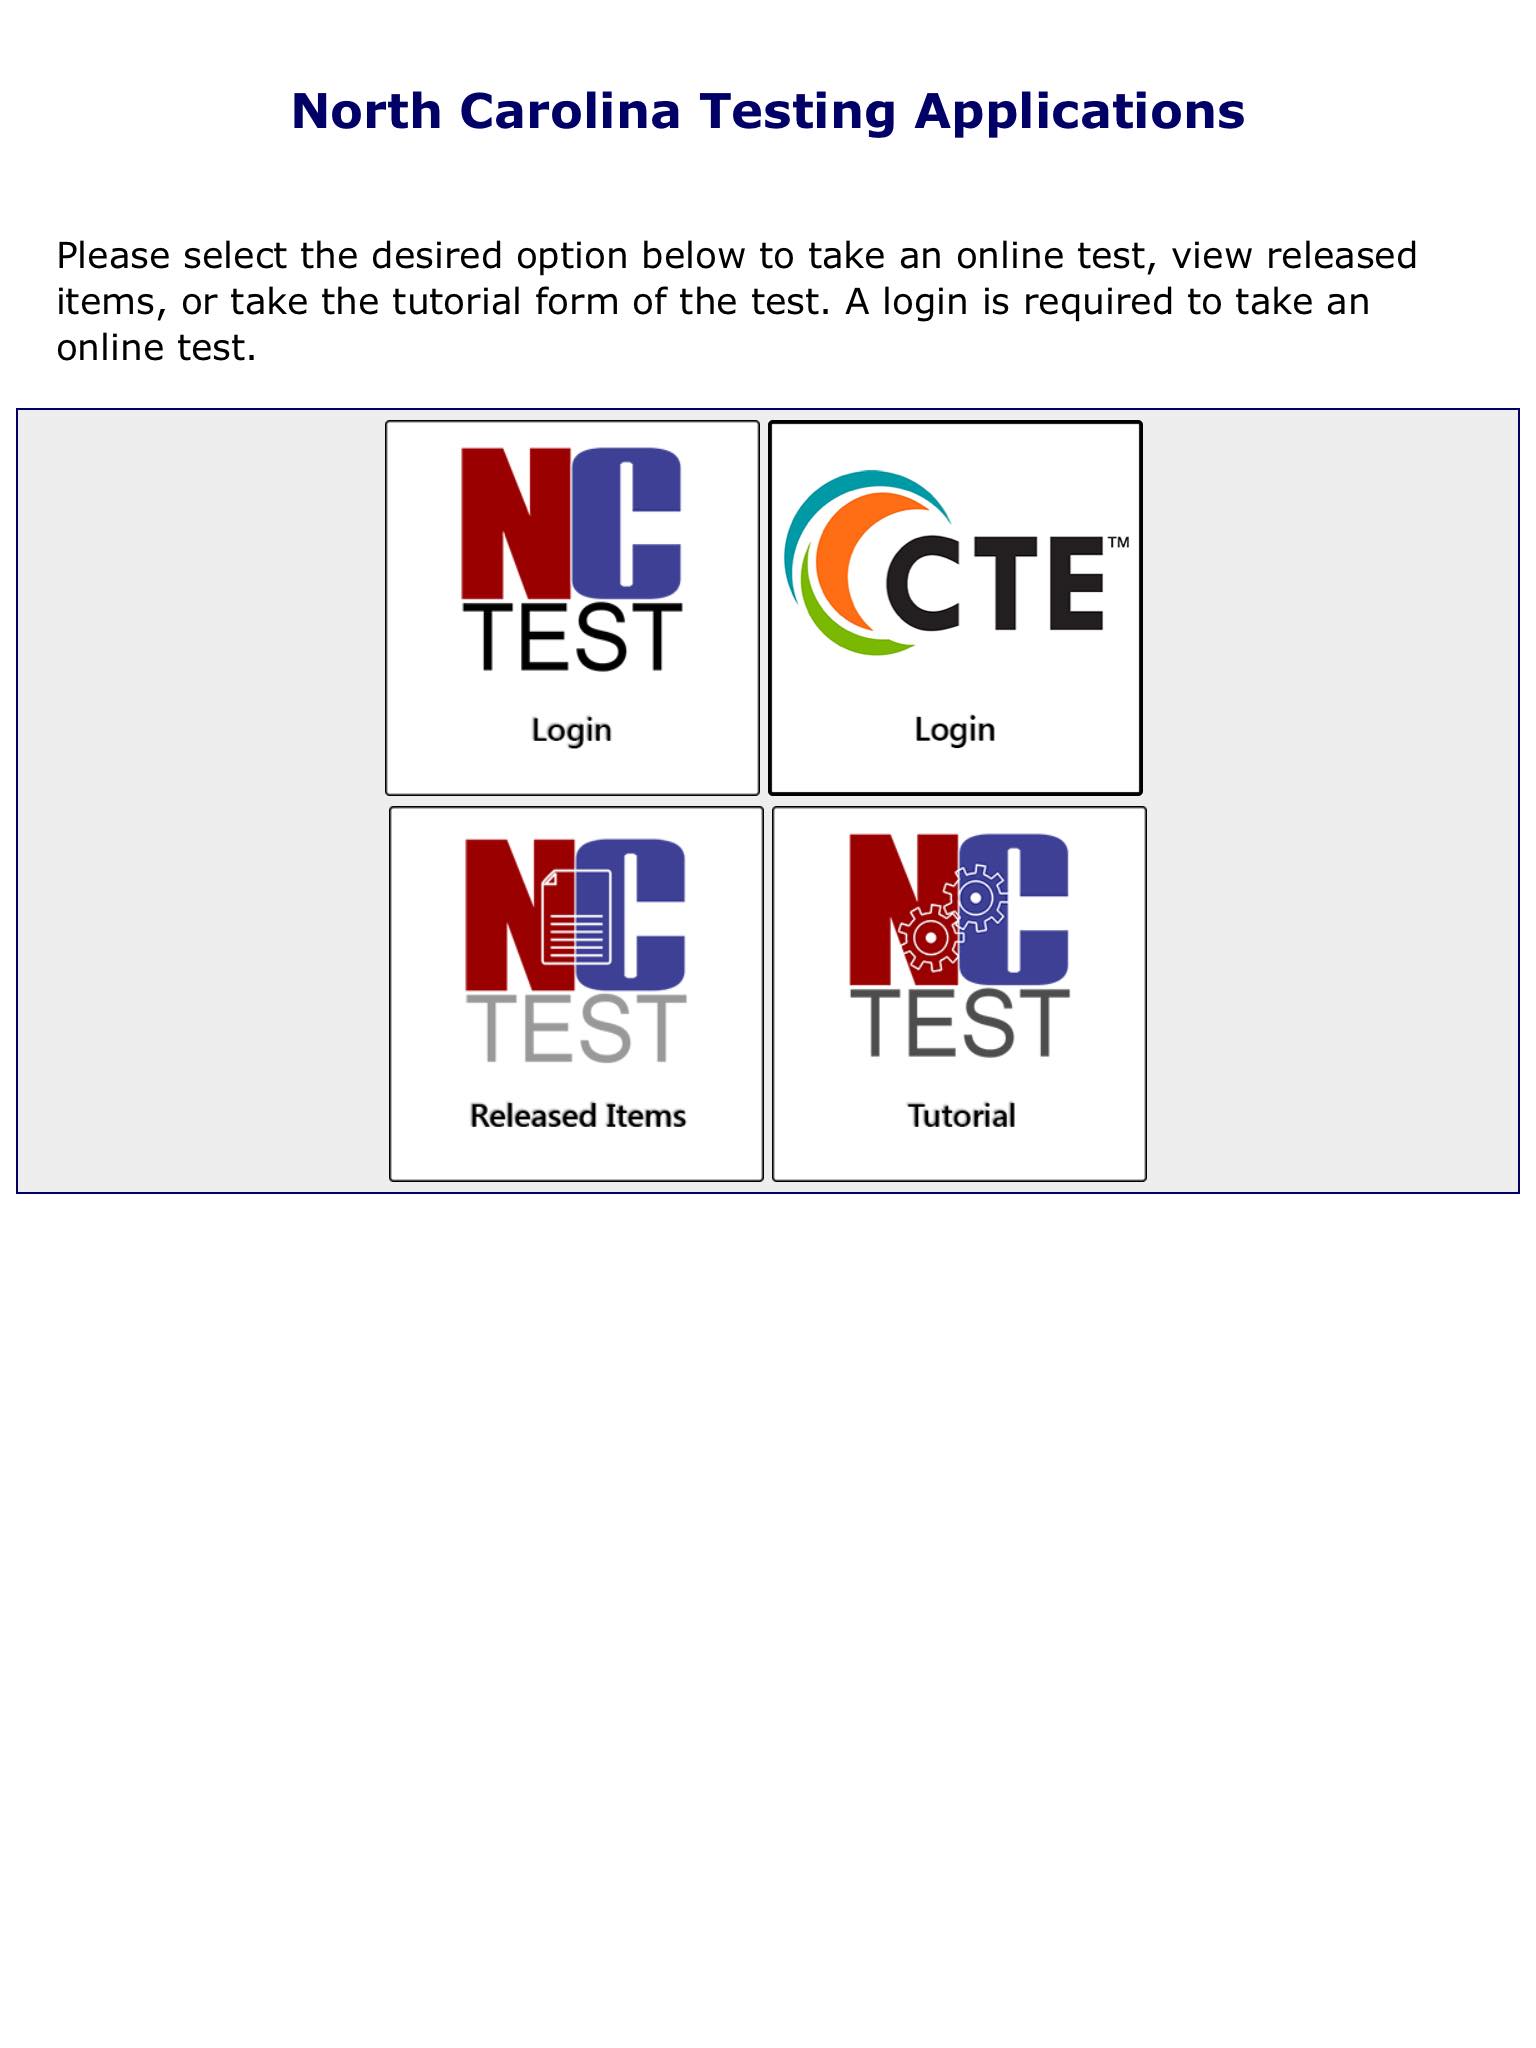
- Select the option of Released Forms, Tutorial, or NCTest to access an assessment or released forms or a tutorial.
- Enter the student ID and access code given to you by your school for the assessment you wish to take.
- The app will ask you to verify the person and assessment to take. If correct, proceed to the assessment.
- Take the assessment following the onscreen prompts.
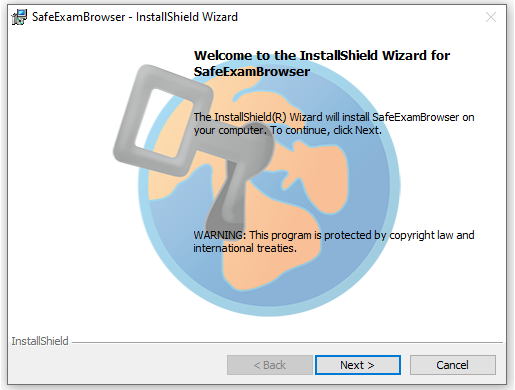
Figure 1 - Installer window for Secure Browser. Follow the on-screen instructions to properly install the Secure Browswer.
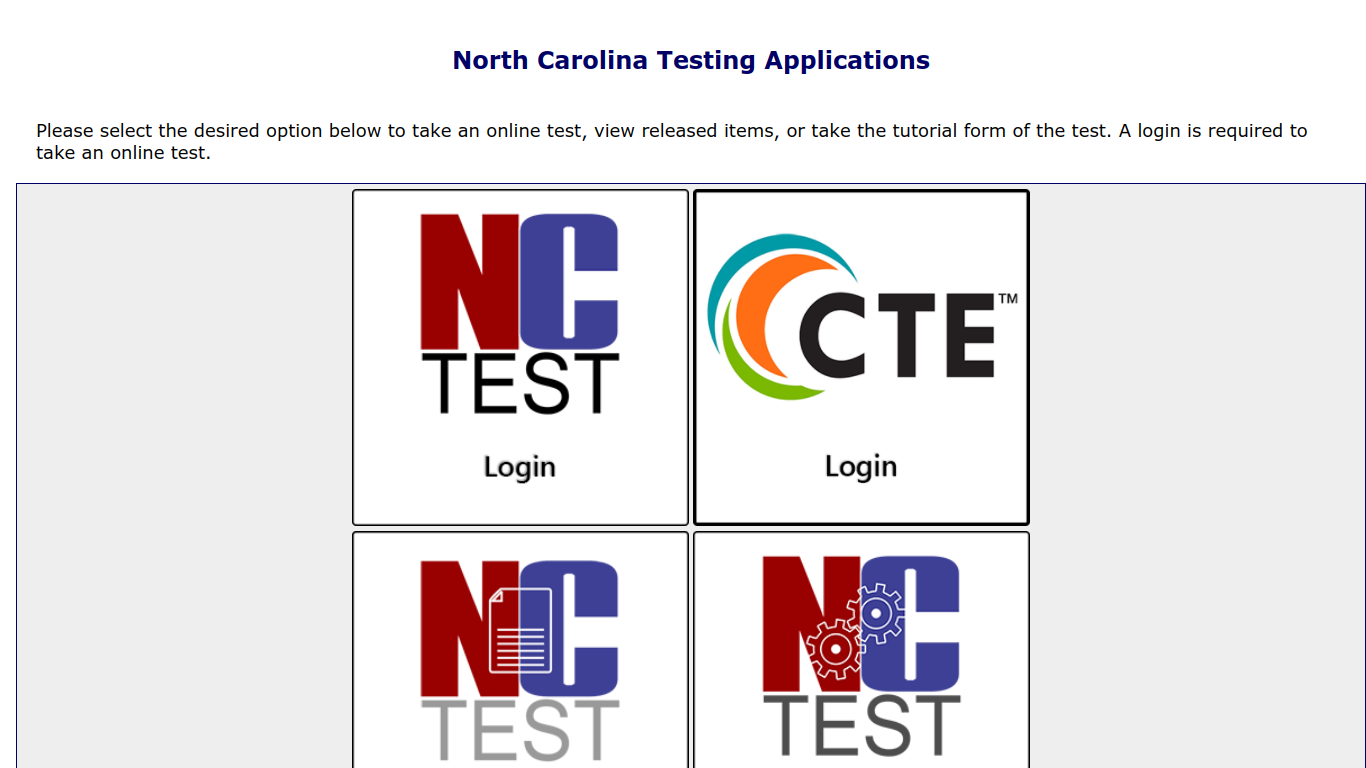
Figure 2 - Main menu of NCTest after opening the NCTest.seb file.
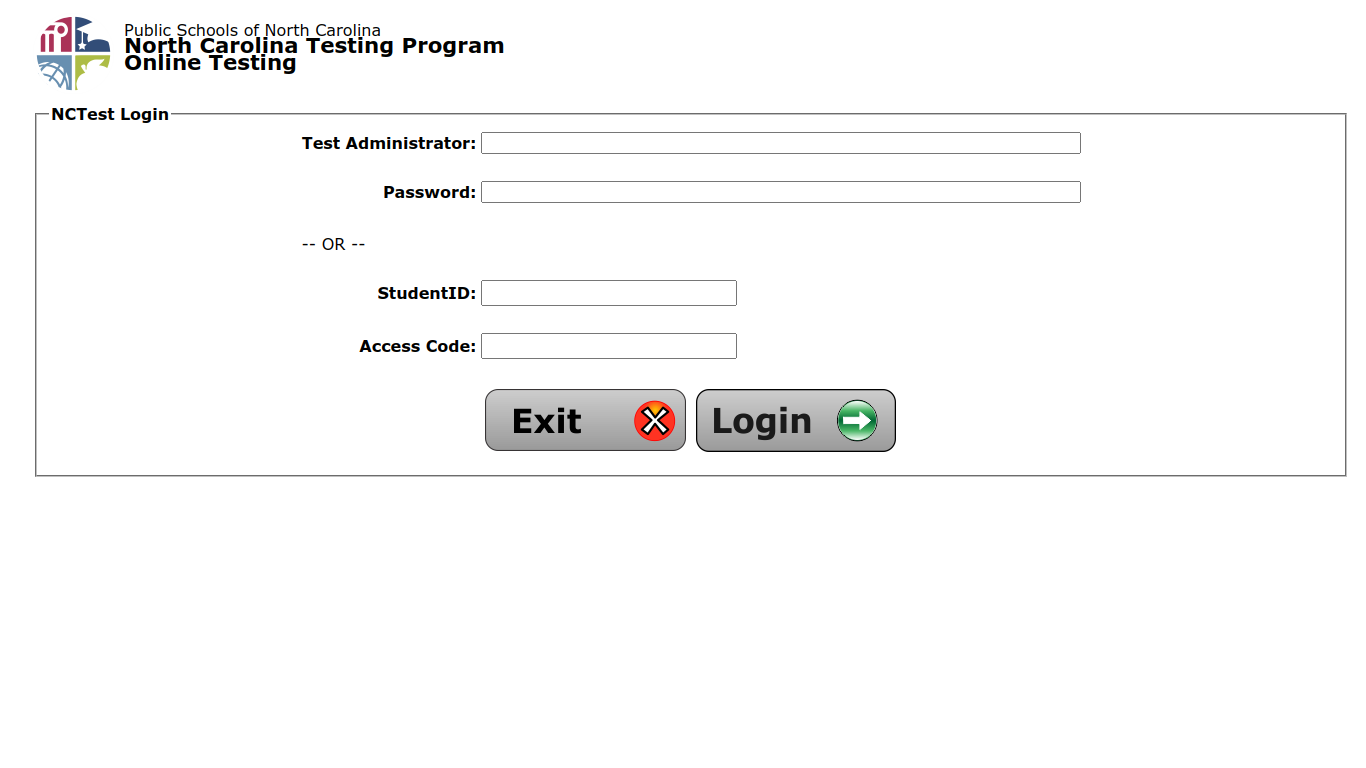
Figure 3 - Menu displayed after choosing "NCTest Login"
NCTest for Macintosh Computers
- A MacBook or other Apple computer with OS X 10.14 or greater installed.
- It should have:
- 1GB of RAM,
- 350MB of available file space
- 9.5" or larger screen
- 1024 horizontal screen resolution
- The NCTest Secure Exam Browser and configuration file. Check the folder labeled 2025-26 NCTest Secure Browser Files below to download these.
- Use 1024 x 768 screen resolution for best results.
To find the current OS version you have installed, click the Apple icon within the upper-left corner and navigate to "About This Mac".
A window will appear displaying the current macOS you have installed along with a few technical specifications (Figure 1).
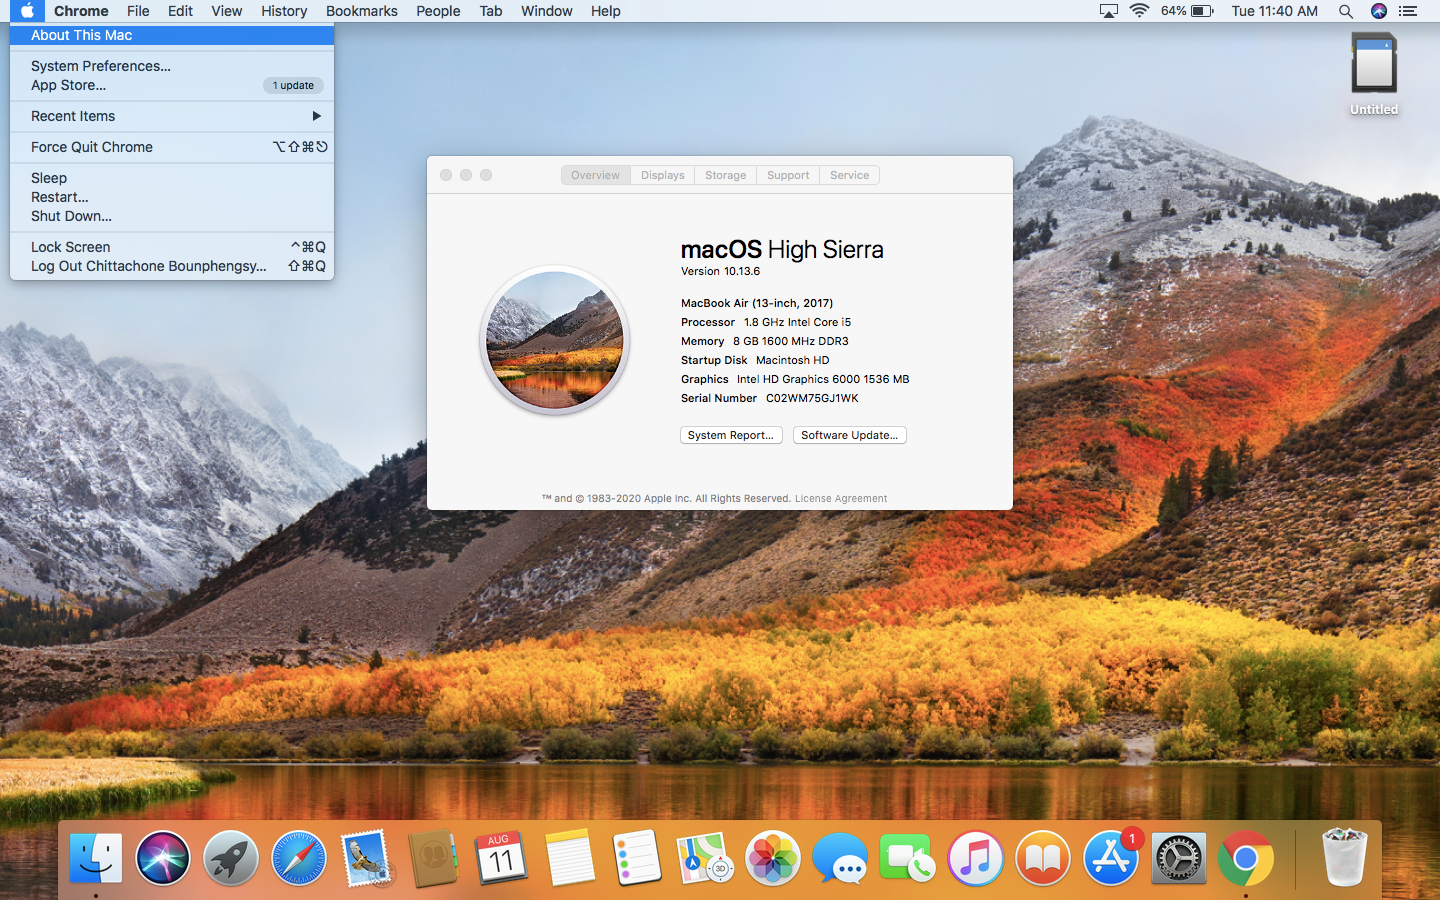
Figure 1 - Window displaying the current macOS installed and navigating to it through by clicking the Apple icon.
RAM, or Random Access Memory, or sometimes referred to simply just as Memory can be found by clicking the Apple icon within the upper-left corner and navigate to "About This Mac".
A window will appear displaying the current amount of Memory you have installed along with a few technical specifications (Figure 1).
Figure 1 - Window displaying the current macOS installed and navigating to it through by clicking the Apple icon.
The amount of available file space you have on your Mac can be found by click to the Apple icon within the upper-left corner and navigate to "About This Mac".
A window will appear displaying details about your Mac computer. Click on the "Storage" located in the middle of the window.
Once here, you will be able to view the amount of available space you have (Figure 1).

Figure 1 - Window displaying the amount of storage installed and available.
To find settings regarding your display and resolution, click to the Apple icon within the upper-left corner and navigate to "About This Mac".
A window will appear displaying details about your Mac computer. Click on the "Display" located at the top of the window.
Once here, you will be able to view details regarding your display (Figure 1).
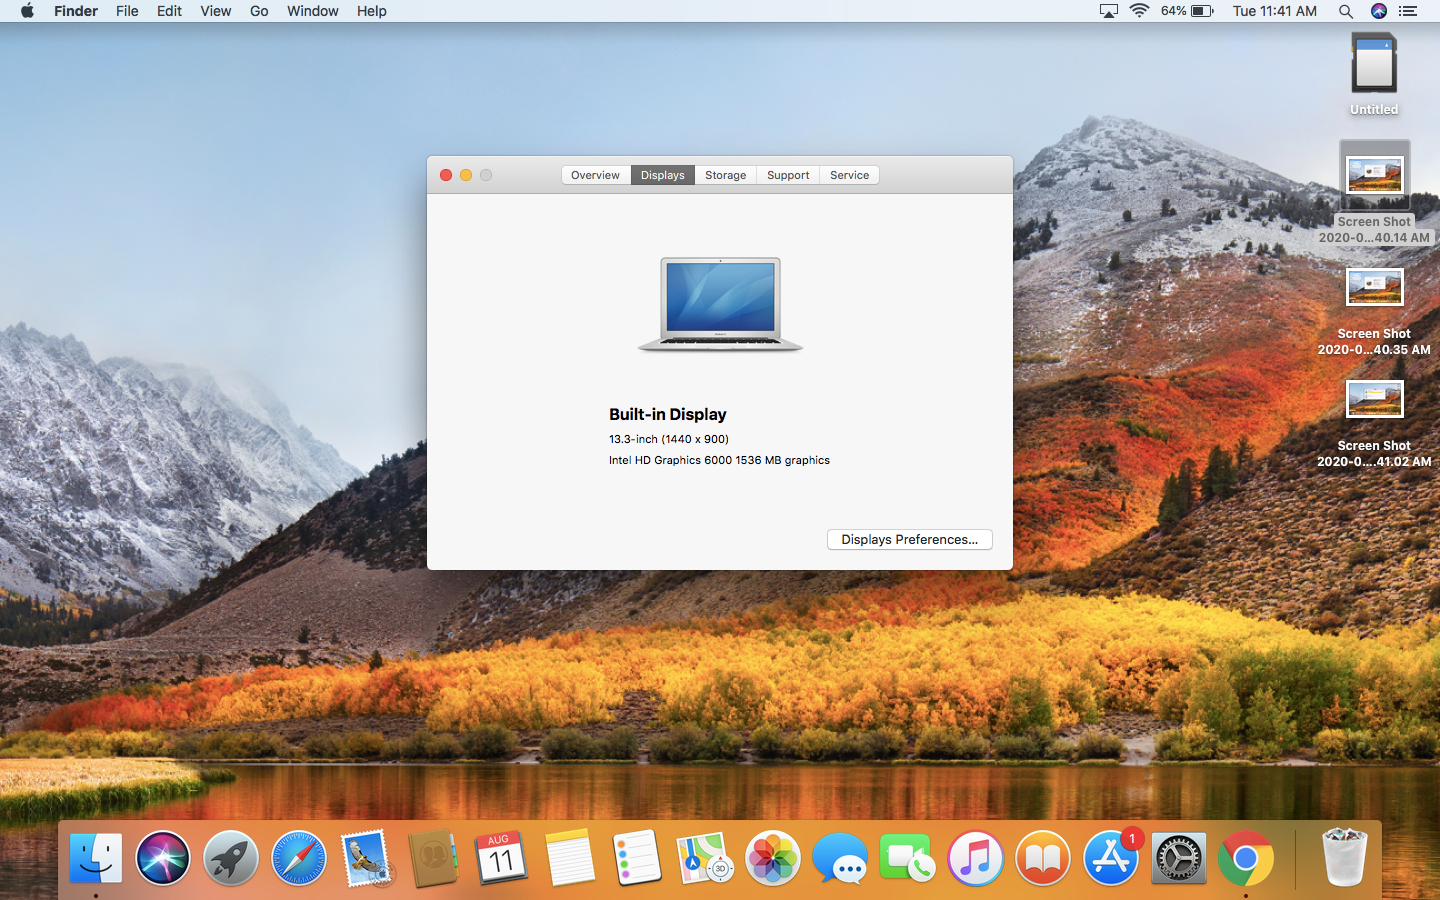
Figure 1 - Window displaying details regarding your display.
- Download the NCTest_SecureBrowser-3.5.2.dmg and NCTest.seb files by clicking each of the buttons below: Download NCTest_SecureBrowser-3.5.2.dmg Download NCTest.seb
- Install NCTest by double clicking the NCTest_SecureBrowser-3.5.2.dmg file, or by dragging it into the applications folder as shown in Figure 1. (You will not get a EULA warning as you do on Windows) The files when downloaded will appear with you other downloads, and if your preferences are set to allow it, your Mac will show you the files when you finish downloading.
- To run NCTest, double click the NCTest.seb file.
- Select the option of Released Forms, Tutorial, or NCTest to access an assessment or released forms or a tutorial.
- Enter the student ID and access code given to you by your school for the assessment you wish to take.
- The app will ask you to verify the person and assessment to take. If correct, proceed to the assessment.
- Take the assessment following the onscreen prompts.
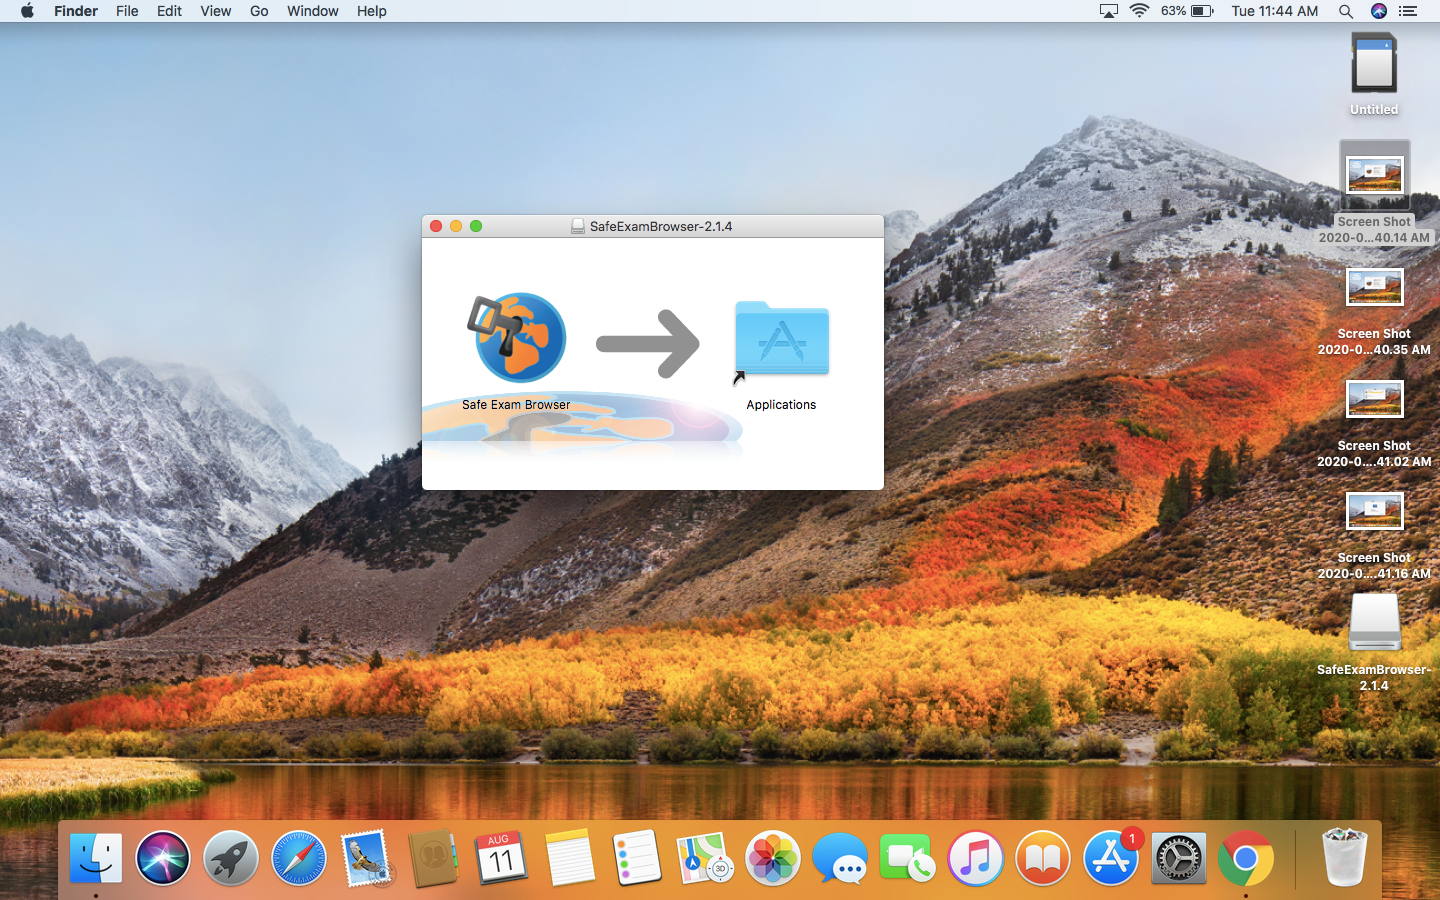
Figure 1 - This window will appear, prompting you to install the Secure Browser. This can be done by clicking and dragging the Secure Browser icon and placing it into the "Applications" folder.
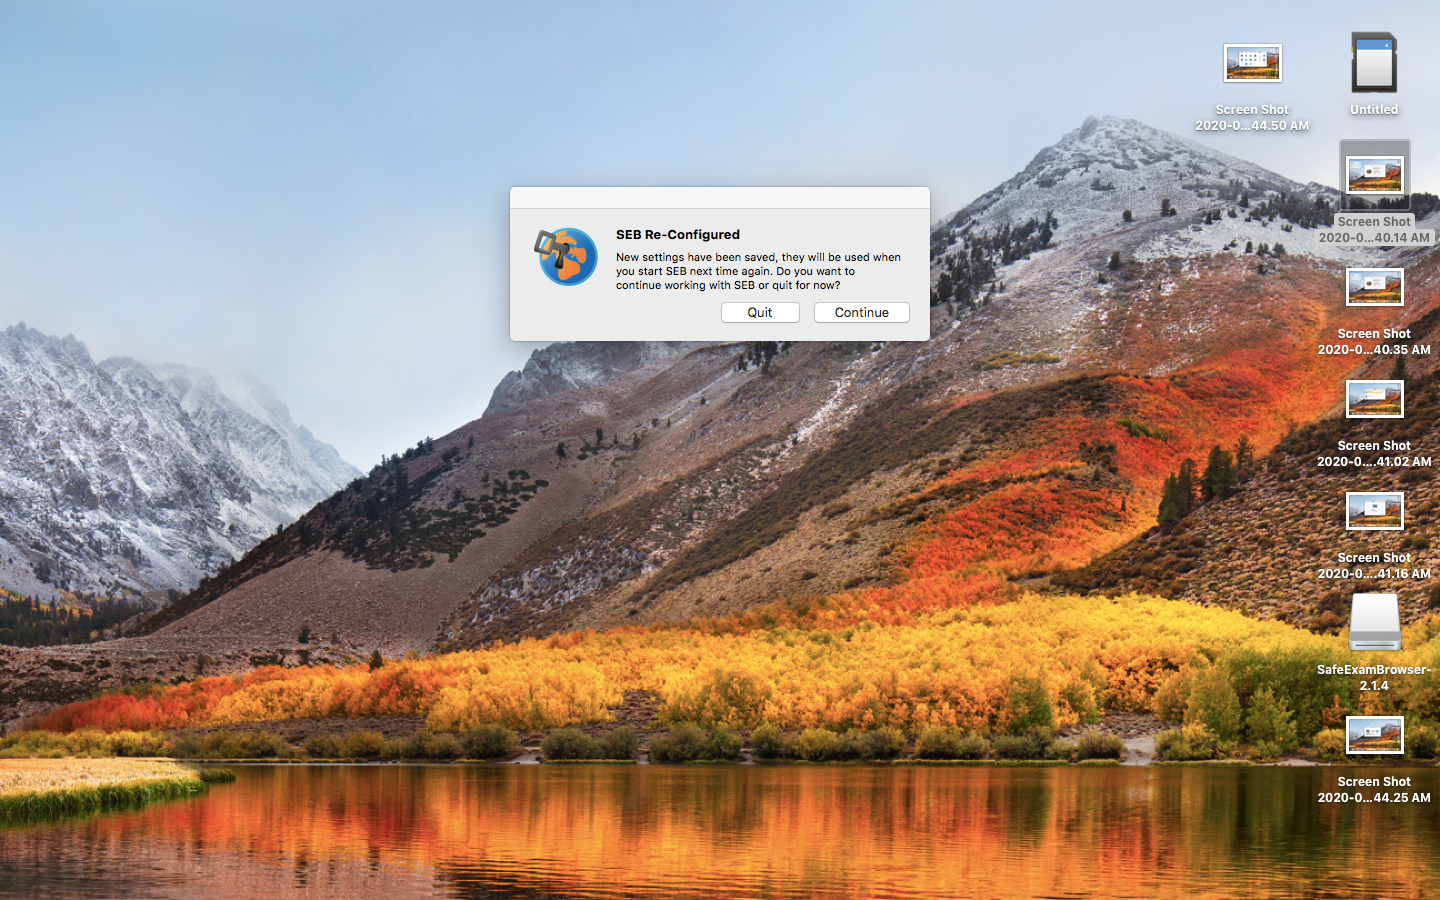
Figure 2 - You may be prompt with the message regarding updated SEB settings. Click "continue" to proceed to opening up NCTest.
Figure 3 - Main menu of NCTest
Figure 4 - Menu displayed after choosing "NCTest Login"
To close NCTest without getting to an exit button or the end of a test, hold down keys Command+Q and then enter 1617 in the Close Safe Exam Browser dialog to quit.
For full details regarding technical requirements or supported systems, please refer to the Technical Requirements page.
Technical Requirements